Getting Started with your VMs
Introduction
This lab will get you familiar with the VM Sandbox environment and creating a CentOS VM.
Firefox is recommended for all labs. Please note, while the VM Sandbox environment is very robust, it is not perfect. Do not expect high level of performance and anticipate that there might be some latency issues, especially if you are working off-campus.
Setting-up Virtual Machines for this Class
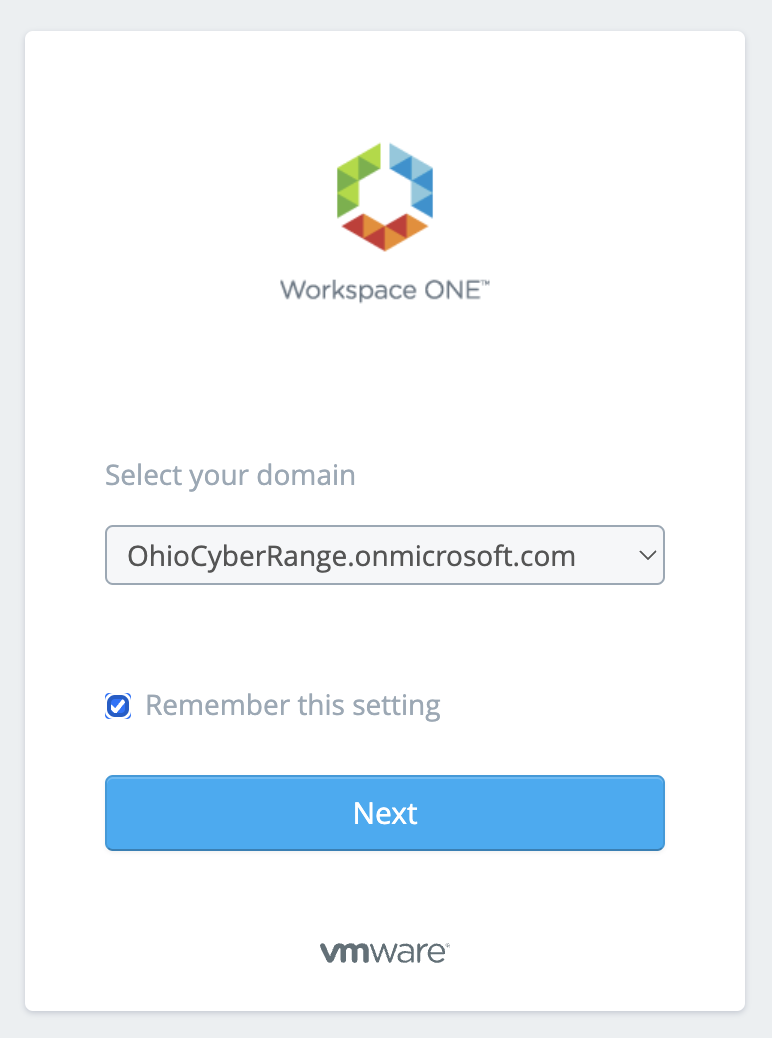
First, login to https://range.ocri.io
Select the domain "OhioCyberRange.onmicrosoft.com" and click Next.
Sign in with your UC username and password.
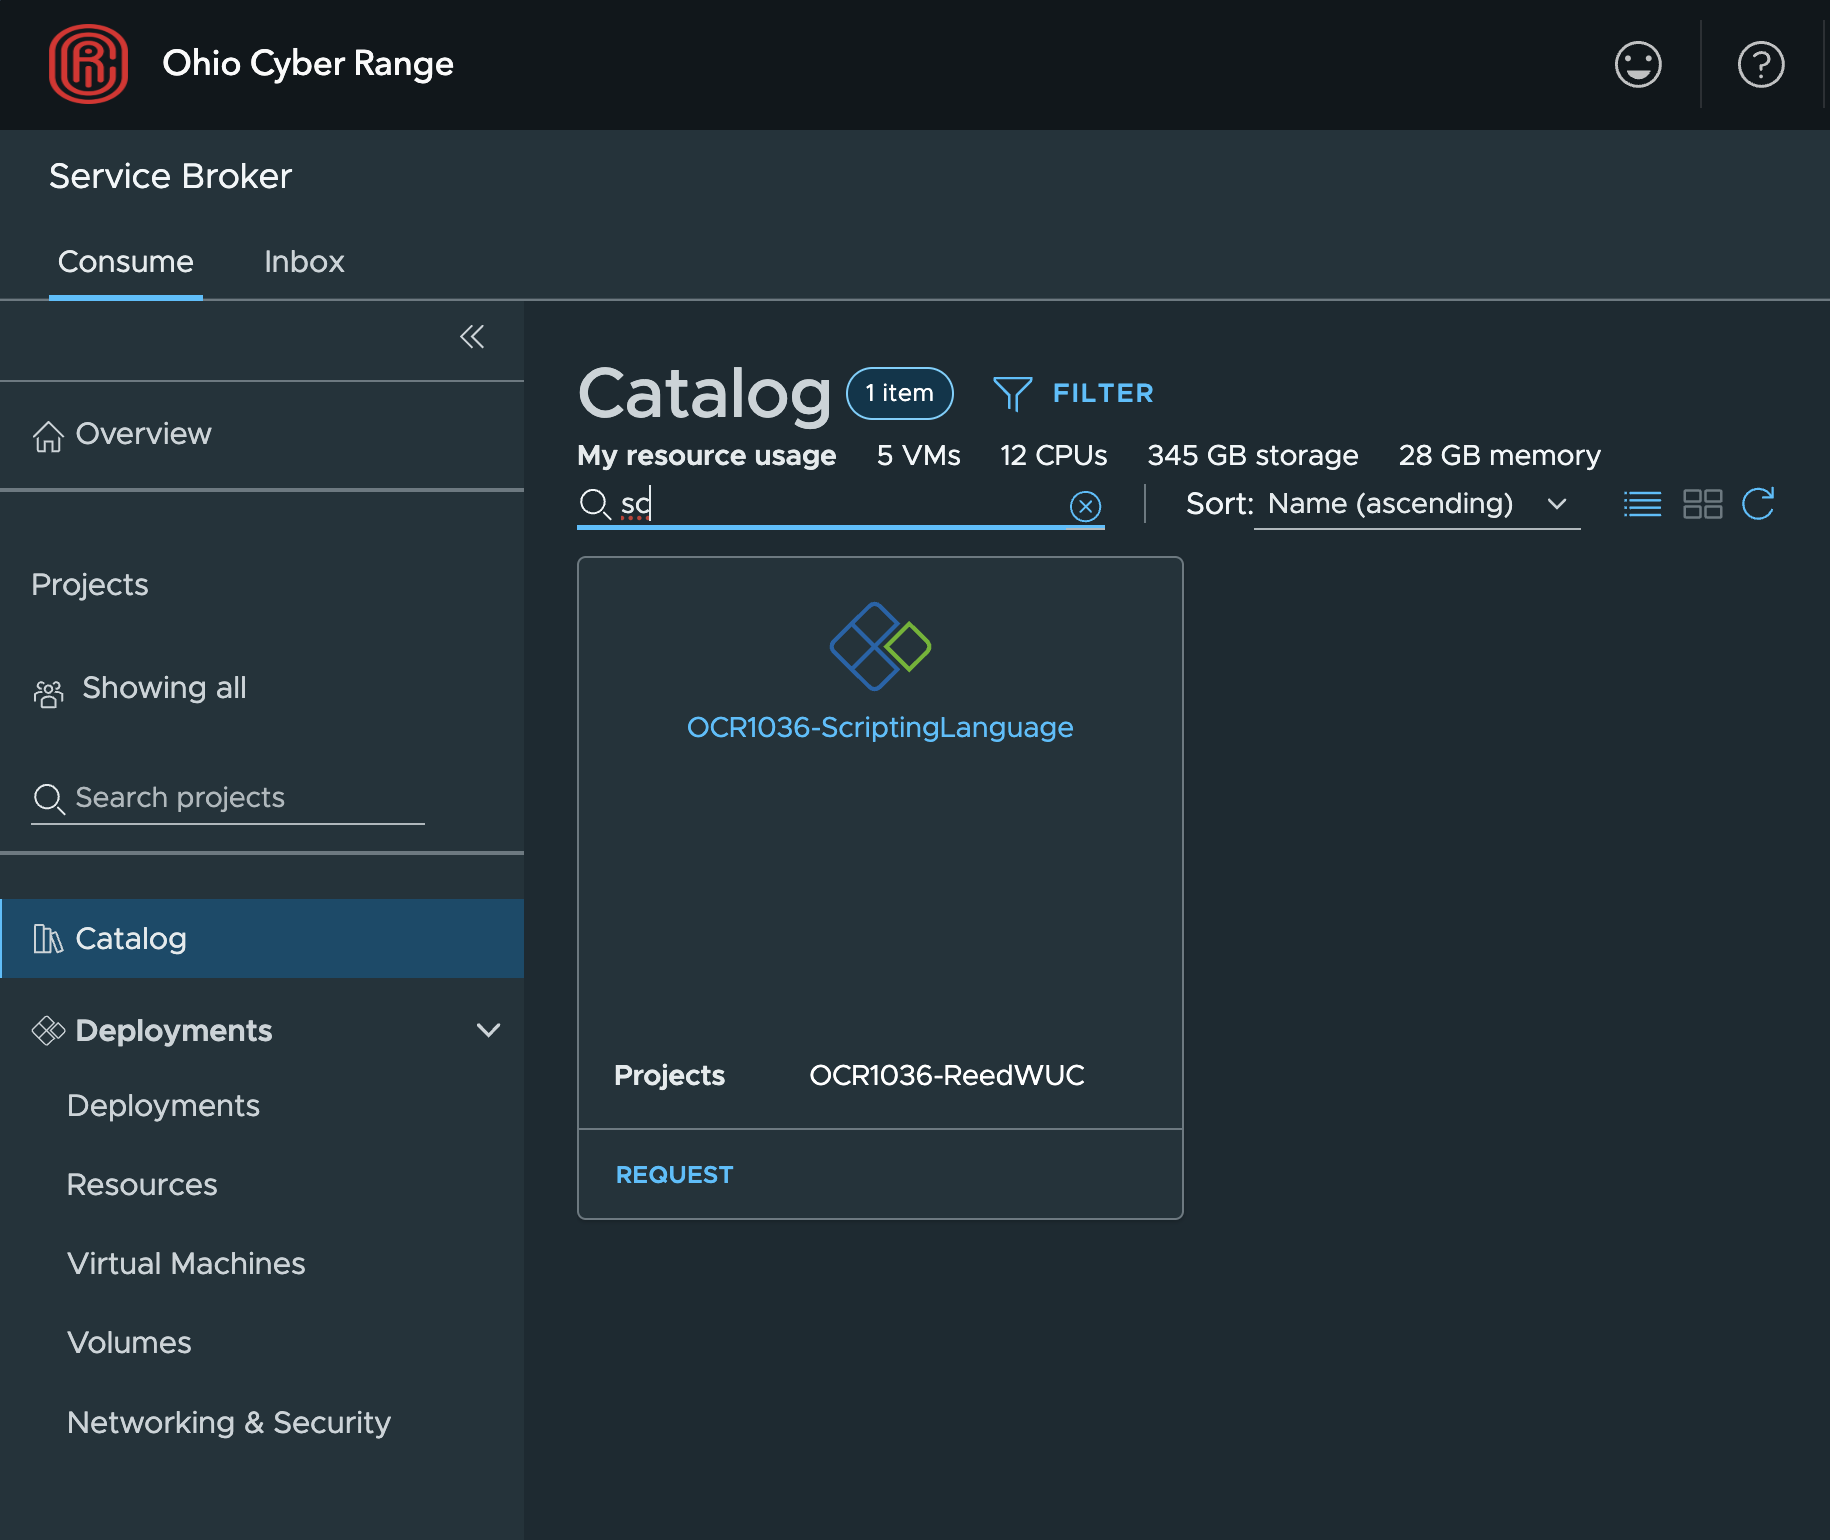
Click the "Catalog" tab, which will contain all of the templates available to you. Select your "Scripting Language" Deployment
From here click "Request" and then hit "Submit". Then click on the "Deployments" tab
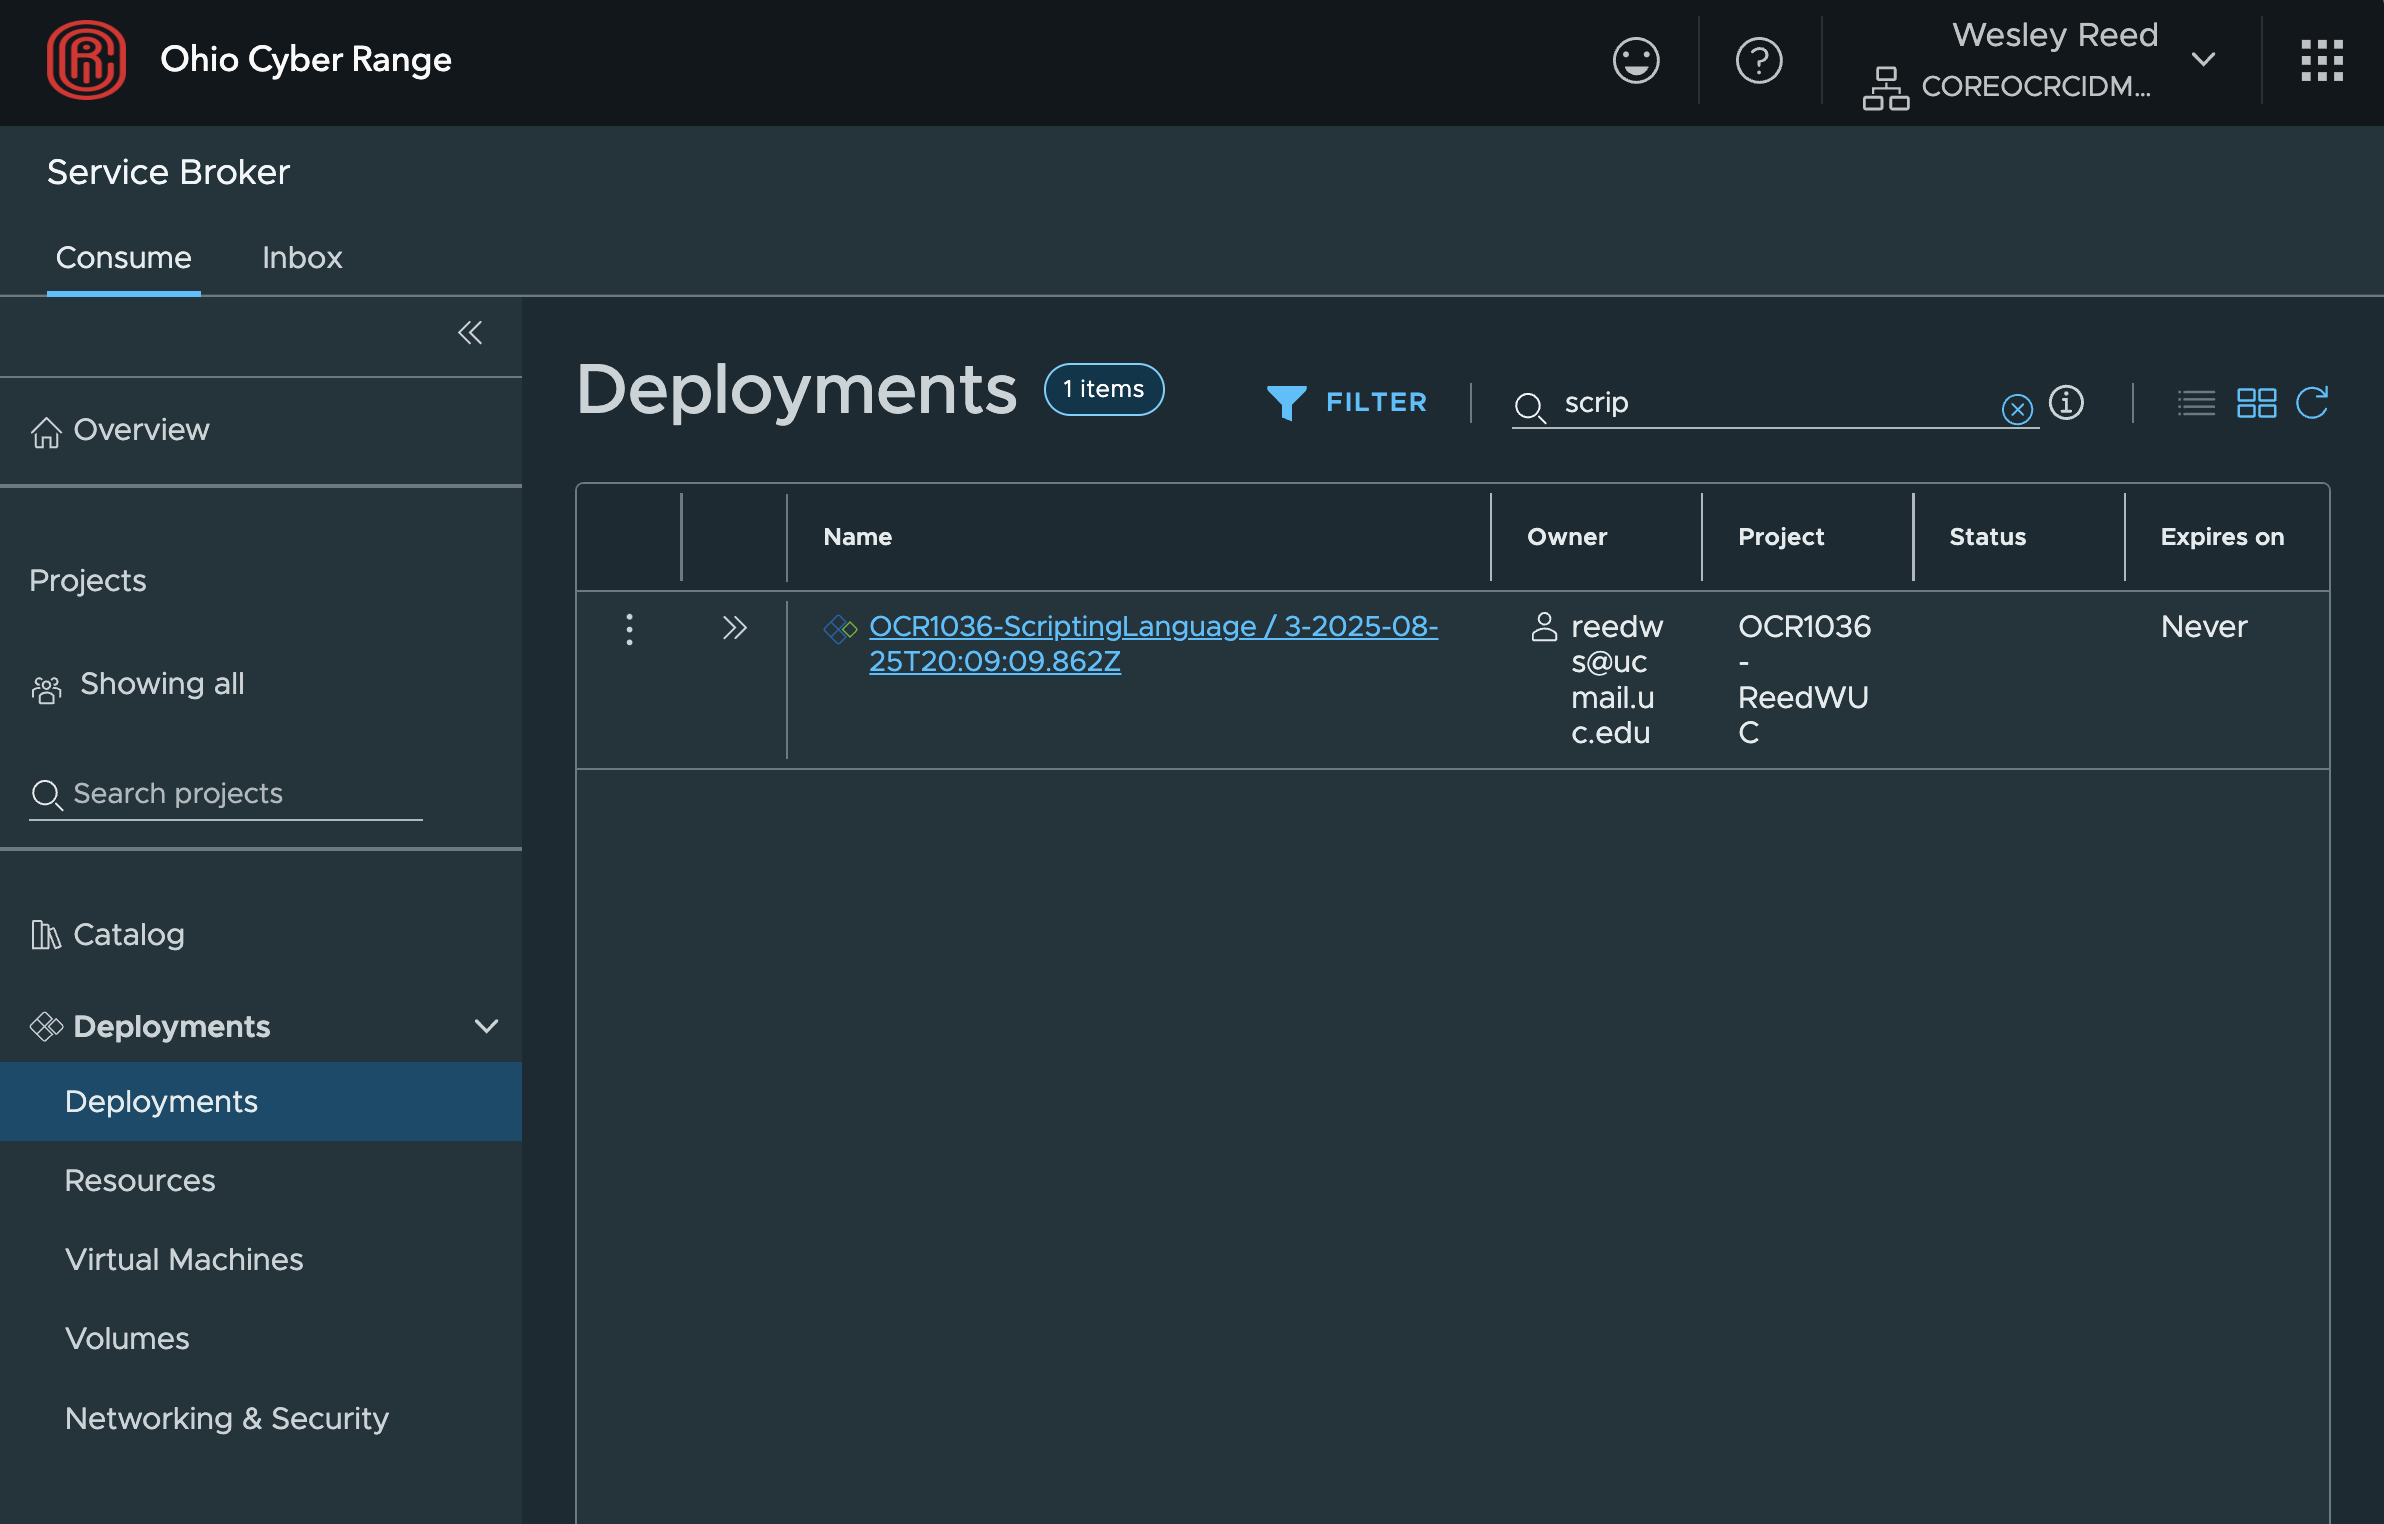
Here you will see the deployment you've just requested. You can click the name of it to open the deployment
Linux Setup and Validation
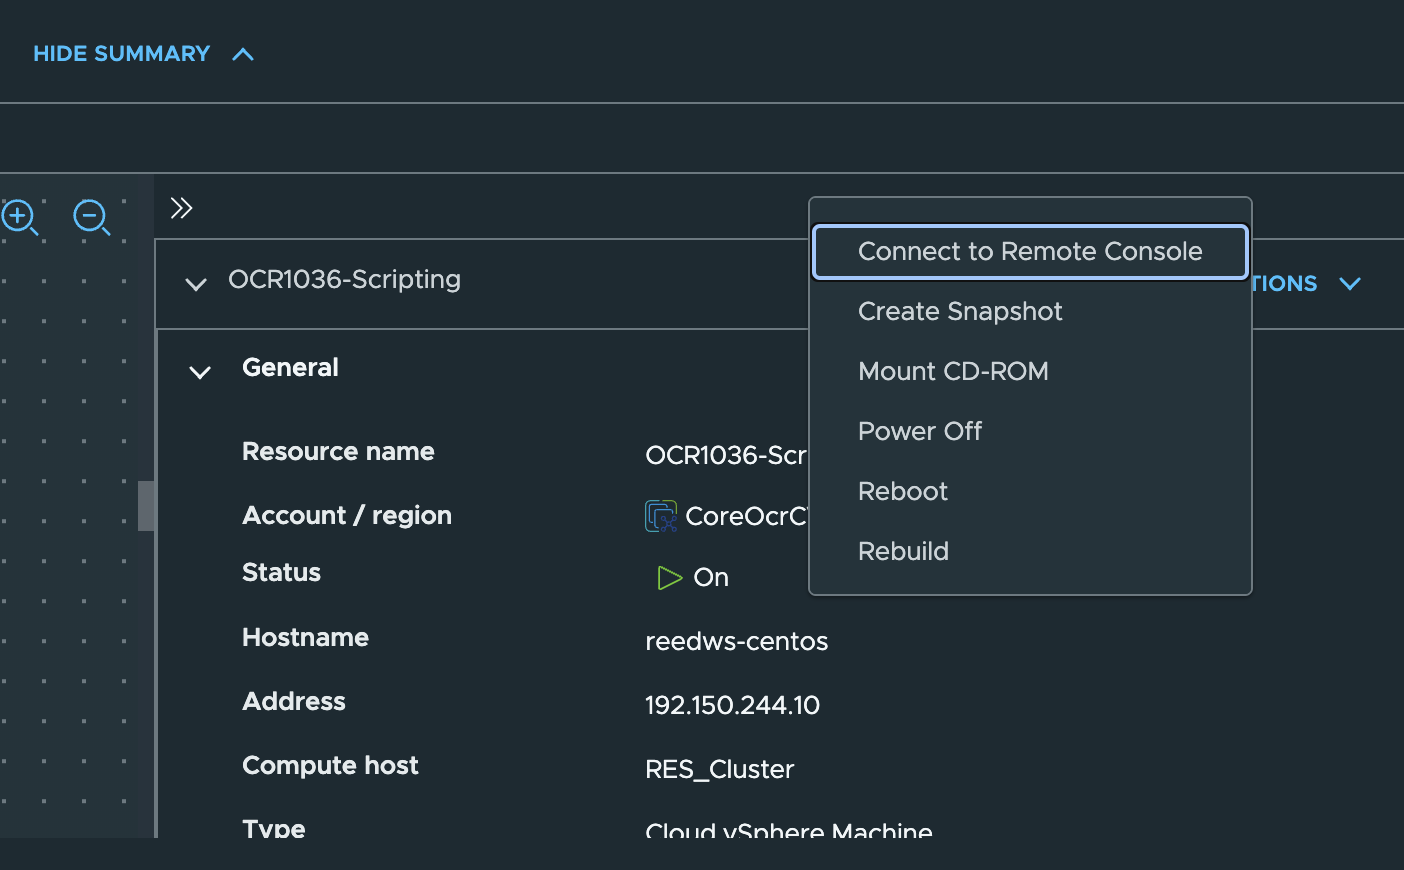
Let's select the CentOS server first. Hover over the machine and click the blue gear icon. Click "Connect Using Remote Console"
Click into the window and press ENTER to show the login prompt.
Login using the following credentials:
- Localhost login:
admin - Password:
Pa$$w0rd
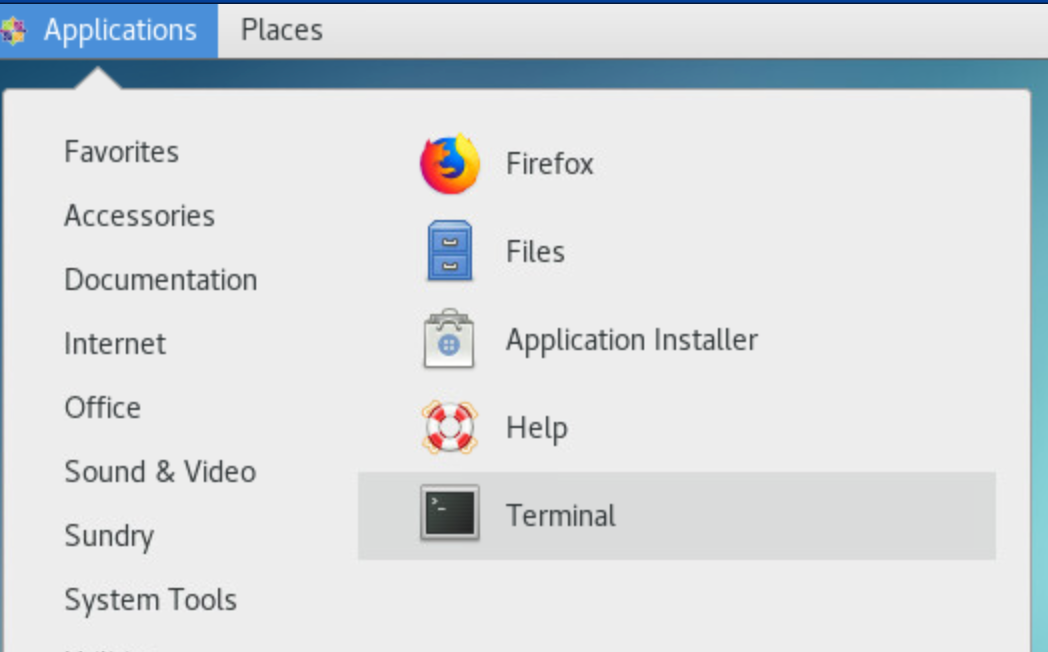
Click Applications | Terminal
Go ahead and run this command:
sudo su
Enter the password above once again. Now run some of these commands:
ping www.uc.edu
A proper ping response confirms we have an internet connection. Press ctrl-c to end the ping.
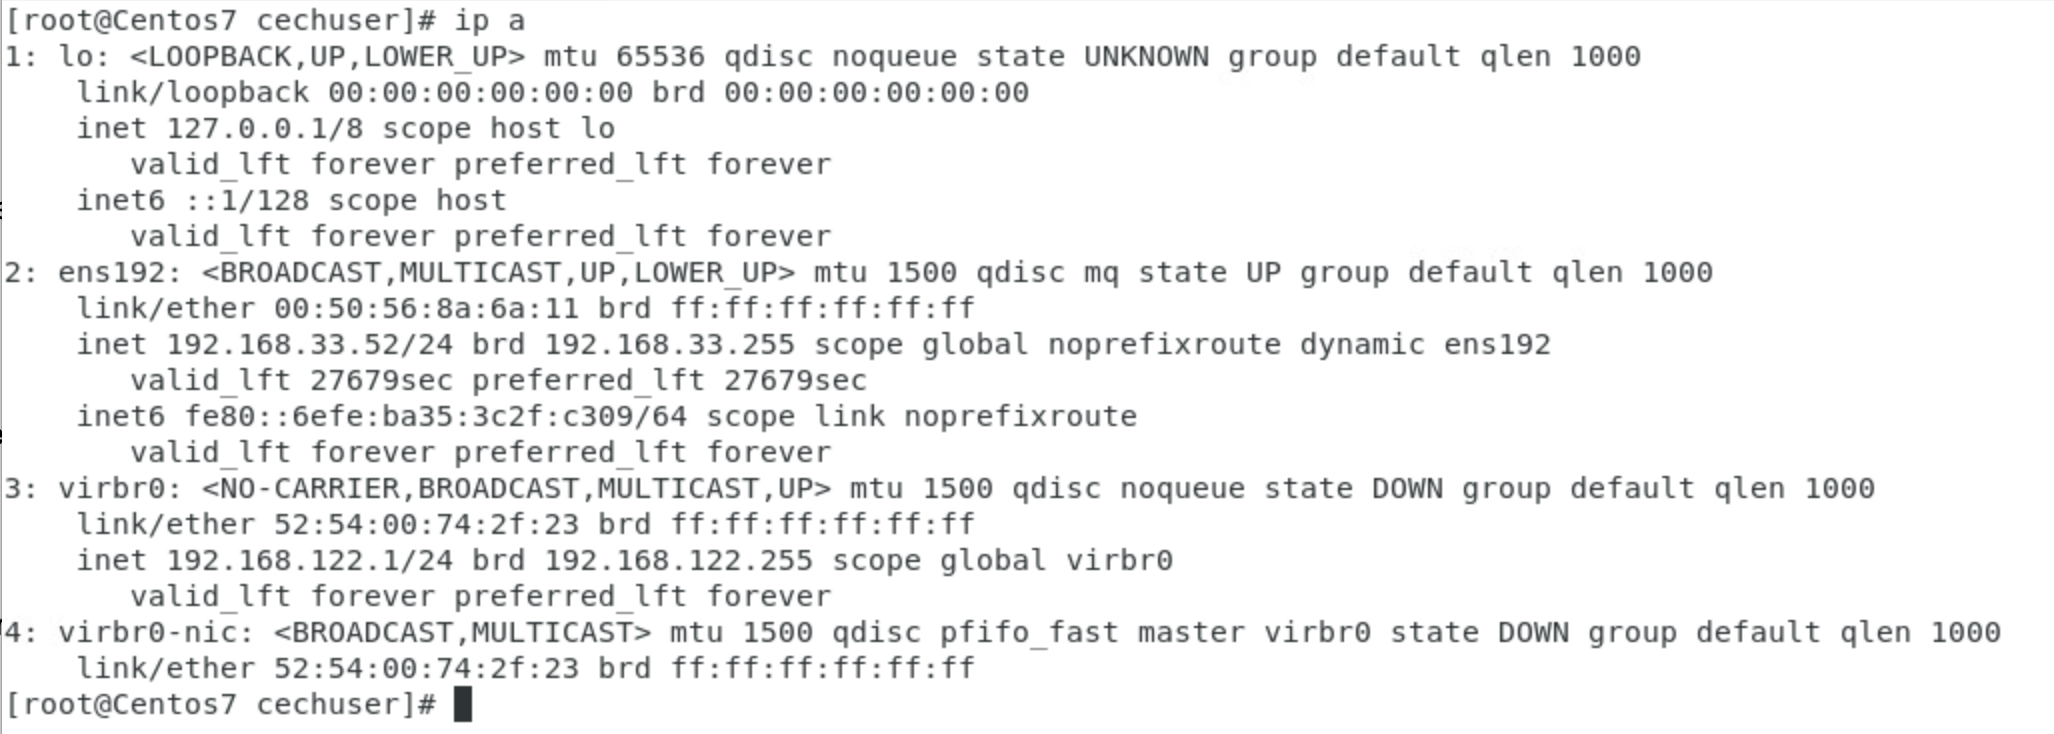
Run the command
ip a
You should see results similar to what's below.
While we're at it, let's go ahead and change the hostname of your Linux VM. Call is the same name you called your VM when we provisioned it (eg. reedws-centos)
To change it,
hostnamectl set-hostname reedws-centos ### replace reedws with your username
Follow this up with a reboot to finalize both our network and hostname settings.
reboot
That'll do it for our CentOS setup for now. Let's switch to Windows.
Linux Software
Let's install all of the software we're going to need for our class. Please install all software with it's default options.
Git
sudo yum groupinstall "Development Tools"
git config --global user.email "username@abc.example"   ### replace email with the one on your github account
git config --global user.name "Your Name"
VS Code
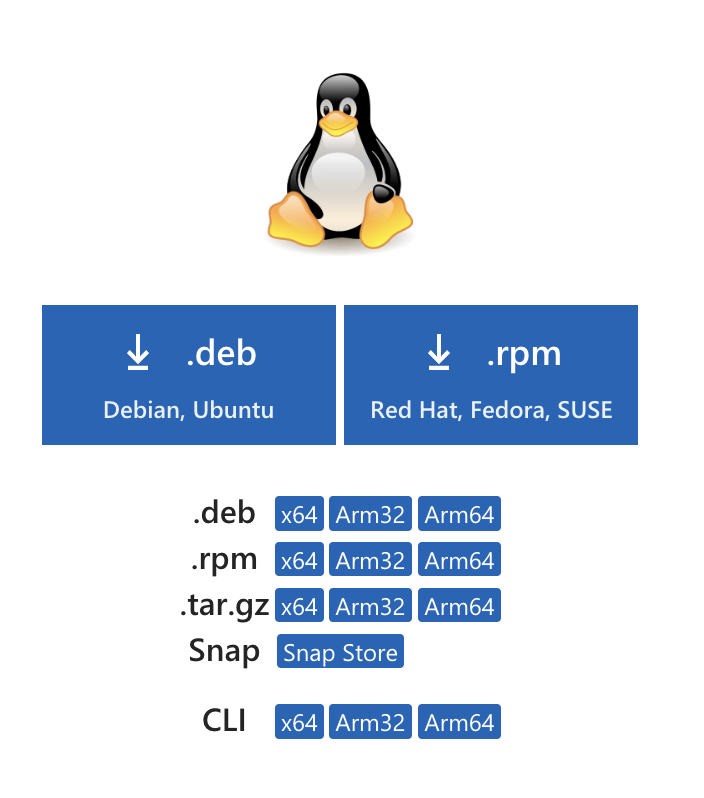
If VS Code is not already installed, Download and install VSCode from https://code.visualstudio.com/download and choose the link for the .rpm installer.
Then open a terminal and run the following commands:
sudo rpm -i /path/to/code.rpm